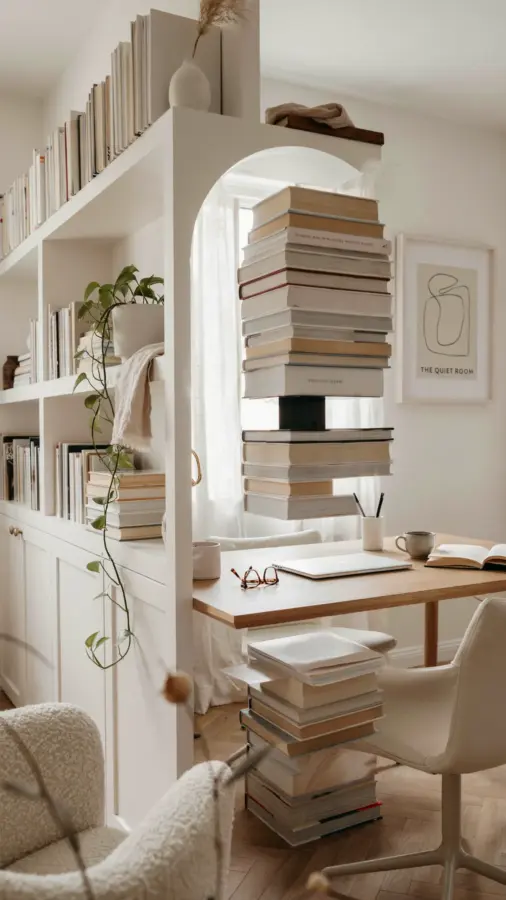
Getting Started With Your Dish Rack Floating Shelves
I have a tiny home office that used to feel like a storage closet. Books stacked on the floor, a coffee mug that had no home, and way too much clutter. That is when I stumbled onto the idea of dish rack floating shelves. Yes, a dish rack used for drying plates turned into a wall shelf. It sounds a little wild, but it works. This project is genuinely beginner friendly. You do not need power tools or woodworking experience. You just need a basic dish rack, some brackets or screws, and a little patience.
The best part is the cost. A simple dish rack from a dollar store costs around five dollars. Even a nice bamboo one is under twenty. Compare that to a store bought floating shelf that costs thirty bucks or more. Plus you get a built in lip on the front edge. That lip keeps your books and decor from sliding off. It is like the dish rack was made for this purpose.
Why a Dish Rack Makes a Great Floating Shelf
Most dish racks have a slatted or basket style bottom. That open structure lets you see the wall behind, which makes the shelf feel light and airy. It also gives you natural wire or wood dividers. You can slide a tablet or a notebook between the slots. I use the top tier of my rack to hold a small plant pot and a coffee mug. The bottom tier holds a few paperbacks.
The rack itself is already shaped to hold things securely. The prongs or upright dividers that usually hold plates become bookends. You can flip the rack upside down or mount it right side up depending on the look you want. The key is to pick a dish rack with a flat back or at least a surface that can attach flush to the wall. Metal racks with a wire frame work best because they are lightweight and easy to drill into.
How to Choose the Right Dish Rack for Upcycling
Not every dish rack will turn into a good floating shelf. You want one that is sturdy but not too heavy. Here is what I look for:
- Flat back panel – Some racks have a curved back that will not sit flush against the wall. Skip those or plan to add shims.
- Metal or heavy plastic – Bamboo racks are pretty but can split when you drill. Metal is easiest to work with.
- Slats or holes for mounting – If the rack has open areas, you can attach brackets right through them without drilling. That saves a step.
- Dimensions that fit your wall space – Measure the spot on your wall first. A rack that is too wide will look awkward. A narrow rack works great for a phone, keys, and a small plant.
If you find a dish rack at a thrift store, you can often get it for a dollar. Clean it well with soap and water. A little spray paint can also give it a fresh look. I painted mine matte black to match my desk hardware.
Tools and Materials You Will Need for This DIY
You do not need a workshop. For a basic dish rack floating shelf, here is the short shopping list:
- A dish rack (check your kitchen or buy one cheap)
- A pair of small L brackets or floating shelf brackets (two to four depending on rack length)
- Screws that match the bracket holes (usually included with the brackets)
- A drill or a screwdriver
- Wall anchors (if you are mounting into drywall without a stud)
- A level (or a phone with a level app)
- A pencil for marking spots
Optional extras: spray paint for color, felt pads on the rack bottom to avoid scratching walls, and a stud finder if you want the strongest hold. I skipped the stud finder and used heavy duty drywall anchors. The rack holds about ten pounds without any trouble.
Step by Step: How to Mount Your Dish Rack Floating Shelf
This is the part that scares beginners, but it is simpler than hanging a picture frame. First, decide where you want the shelf. Hold the dish rack against the wall at your desired height. Use a pencil to mark the top edge so you know where the shelf will sit.
Next, attach the brackets to the wall. Measure the distance between the bracket holes on your rack. Transfer that measurement to the wall. Drill pilot holes, insert wall anchors if needed, then screw the brackets into place. Make sure the bracket arms are level. I checked mine three times before tightening.
Now place the dish rack onto the brackets. If the rack has open slots, you can slide the bracket arms through them. If not, you will need to drill small holes in the rack back and screw it to the brackets. For a metal rack, use a drill bit made for metal. Go slow so you do not
Leave a Comment