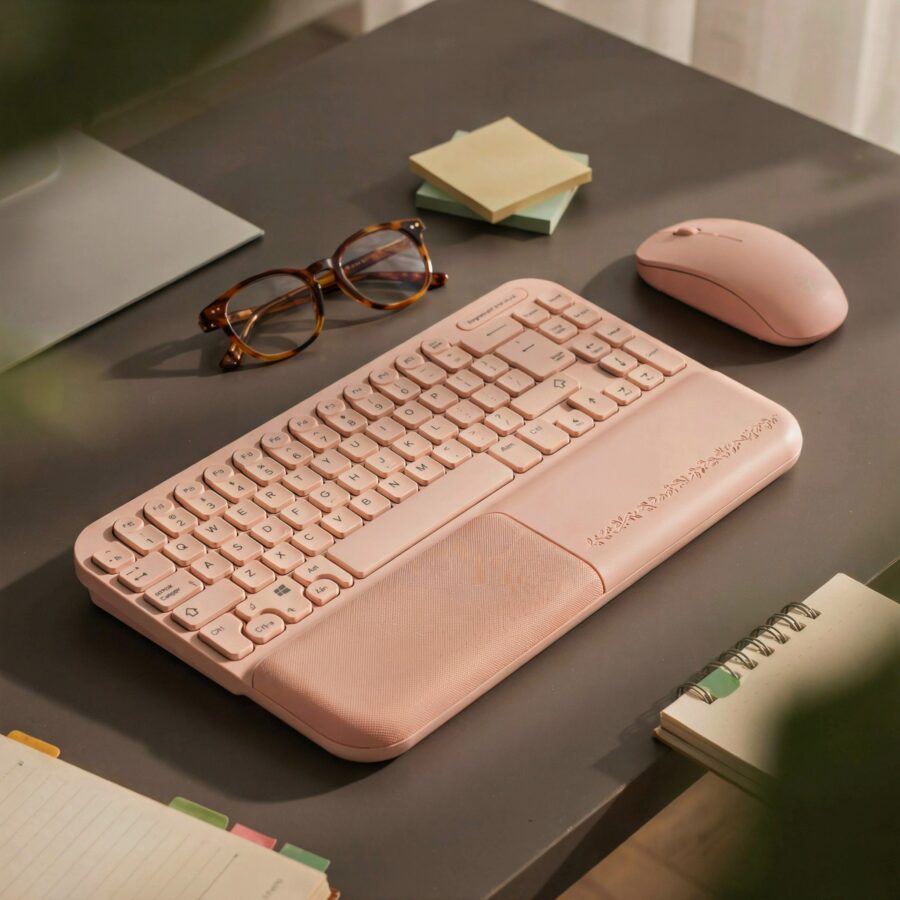
If you spend hours typing at a desk, you know that dull ache in your wrists by the end of the day. That is why I finally switched to an ergonomic wrist rest for office work after years of ignoring the problem. This particular one uses three layers of textural comfort to support your wrists during long typing sessions, and it has genuinely changed how I feel at 5 PM. In this guide I will walk you through exactly how to use a wrist rest properly, what to look for, and how to get the most out of the three layer design.
How to Choose the Right Wrist Rest for Your Keyboard Setup
Not all wrist rests are created equal, and picking the wrong one can actually make wrist pain worse. Here is a quick checklist I use when recommending one to friends:
- Height matching: The rest should sit at the same height as your keyboard front edge. Too high and you bend your wrists up, too low and you drop them down.
- Material breathability: Look for breathable fabric or gel with a cover. Sweaty wrists lead to slipping and discomfort.
- Base grip: A non slip bottom keeps the rest from sliding away when you type fast.
- Length: Full keyboard size or tenkeyless? Measure your keyboard width and match it.
- Three layer construction: The model I use has a firm memory foam core, a soft gel middle layer, and a plush top fabric. That combination balances support and cushioning.
Take your keyboard, a ruler, and sit at your desk. Measure the gap between your desk surface and the bottom of your palms when your fingers rest on the home row. That gap is your ideal wrist rest height.
Three Layer Comfort: What Each Layer Does for Pressure Relief
The wrist rest I am talking about features a three layer build that works together to reduce pressure points. The bottom layer is a dense memory foam that holds shape and prevents bottoming out. The middle layer is a slow rebound gel that absorbs the shock of each keystroke. The top layer is a soft, breathable fabric that wicks moisture and feels cool against the skin.
When you rest your palms on it, the layers compress gradually. Your wrist stays in a neutral position instead of sinking into a flat pad. I noticed less tingling in my pinky and ring fingers after two weeks of using this setup. That is the pressure relief doing its job on the ulnar nerve.
Step by Step: How to Position Your Wrist Rest for Natural Typing Posture
Positioning is everything. Follow these concrete steps to get it right:
- Place your keyboard on a flat surface. Do not use a keyboard tray that is too low.
- Lay the wrist rest flush against the front edge of your keyboard, not under it.
- Sit up straight with your elbows at a 90 degree angle. Your forearms should be parallel to the floor.
- Rest the heel of your palm on the wrist rest, not your full wrist. Your fingers should still hover over the keys.
- Adjust your chair height so your wrists are not bent up or down. A slight downward tilt of the keyboard (negative tilt) can also help.
If your wrists feel any pressure on the underside, slide the rest a few millimeters forward or backward until the contact point is just the fleshy part of your palm.
Why a Cushioned Palm Rest Reduces Strain During Long Work Days
Hard desk edges cut off circulation and compress the carpal tunnel area. A cushioned palm rest distributes your upper body weight across a wider surface. That means less concentrated pressure on the wrist base. I used to get numbness after two hours of continuous typing. Now I can work a full four hour block before needing a stretch break.
The key is that the rest supports your palms, not your wrists. When your palms are elevated slightly, your wrist stays straight and your fingers curve naturally over the keys. That neutral position lowers strain on the tendons and ligaments. If you pair this with an ergonomic keyboard, you get even more benefit.
Practical Tips for Maintaining Your Ergonomic Wrist Rest
Dirty wrist rests can harbor bacteria and lose their cushioning properties. Here is how I keep mine fresh:
- Spot clean weekly: Use a damp cloth with mild soap, gently rub the fabric, and let it air dry completely before using it again.
- Rotate it monthly: If your rest is symmetrical, flip it end to end to even out wear patterns.
- Check the bottom grip: If the rubber starts peeling, replace it. A sliding wrist rest ruins your posture.
- <
#WristRest #ErgonomicComfort #HomeOfficeEssentials #TypingSupport #WFH
Leave a Comment